A Window air conditioner is a simple type of AC unit which has all components in a single box. It comes with five main parts that include refrigerant, compressor, condenser coil, expansion valve, evaporator coil. To cover up those essential components and parts there are two different covers in a Window Ac. One is the front cover and another is the outside cover. The front cover saves the air filter and condenser coil and the outside cover saves internal components.
During the monthly and yearly cleaning, the front and outside cover need to be removed. To ease your cleaning process here we come with the How to Remove Front Cover of Window Air Conditioner guidelines. Keep reading this article to figure out how in the easiest way it’s done.
Why Is It Important to Remove the Front Cover of the Window Air Conditioner?
Mold is a serious problem no one wants to face. The revelation of mold in the home can cause a variety of serious health whether it is visible or not. One of the hidden places where mold can grow is on your Air Conditioner. When your AC is constantly circulating cold air through the unit into your home, mold can spore your living area. Constant allergy problems can arise because of visible or invisible mold. If you detect that issue it needs to clean your front side of AC. That is why removing the front cover of window unit Ac is important to Clean Mold from Window Ac

Generally, windows ac is affected by mold when it is installed on the side of a wet wall or damp environment. So any place that has excessive moisture is at risk for containing mold in the air. The AC which is constructed without any hose like Portable Air Conditioner Without Hose is safer than any other ac for attaching mold. Although keeping your window ac free from dust and regular maintenance can save you from affecting the mold.
How to Remove Front Cover of Window Air Conditioner
The method of removing the front cover of your Air Conditioner is really simple and needs to remove some screws from the front side. However, the process mostly depends on the brand and there is a slight difference according to the brand. That is why you need to check the instruction manuals to remove the front cover of the window frame. There is no confusion that uses a manual that has all the detailed information.

When you have got the user manual and arrange the tools you need you are ready to start. Look closely at the user manual to find out the location of the front screws. There are generally two screws that connect the front cover to the Ac. Sometimes it complexes to find out the location of screws because of the complex design. In that case, you can search by the name of the Ac model to detect the location of the screw.
Now follow the below steps to remove the front cover:
Step 1– Turn off the Ac at first and unplug it from the power outlet.
Step 2- Remove the control knob of your Windows Ac by using your fingers. Then detect the location of the screws near the control knob.
Step 3– Remove the screws with needed tools. Try a Phillips Screwdriver to undo the front screws.
Step 4- Be careful not to use any sharp tools or any metal objects removed from the back part of the window conditioner.
Step 5– Remove the front cover safely with your hand and take it away. Then unhook the top part of the window frame cover and successfully remove it.
Window Air Conditioner Maintenance Tips
Perfect cleaning and maintenance will keep your window unit Ac running smoothly. It not only prevents breakdowns but also reduces the consumption of energy and makes your unit more efficient. For regular maintenance keep following your user manual always. Because they have instructions based on required cleaning. The basic maintenance tips also extend the life of your windows unit Ac. So, to be free from further worrying about your ac keep following our tips.

1. Check The Air Filter
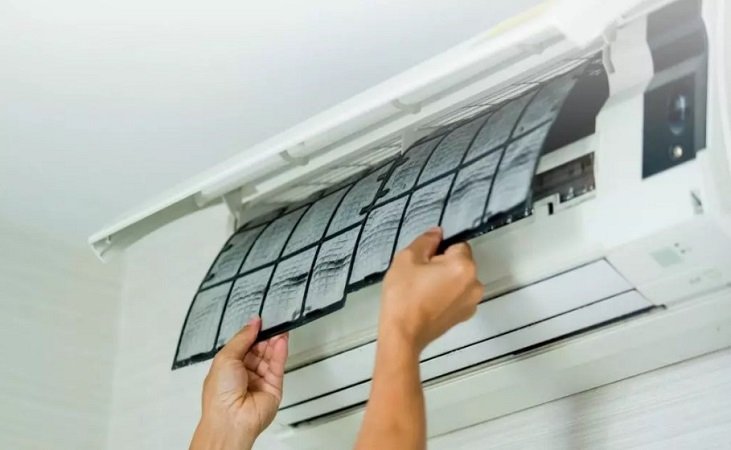
Clean your air filter in case it attaches to dust. You can use a brush and warm water to clean your air filter by taking enough precautions.
2. Look At Other Guards
If your model has insect guards, be sure it is in good condition. Properly check the entire ac if there are any insects attracting the evaporator coil, condenser coil, or in the panel board.
3. Clean the Inside
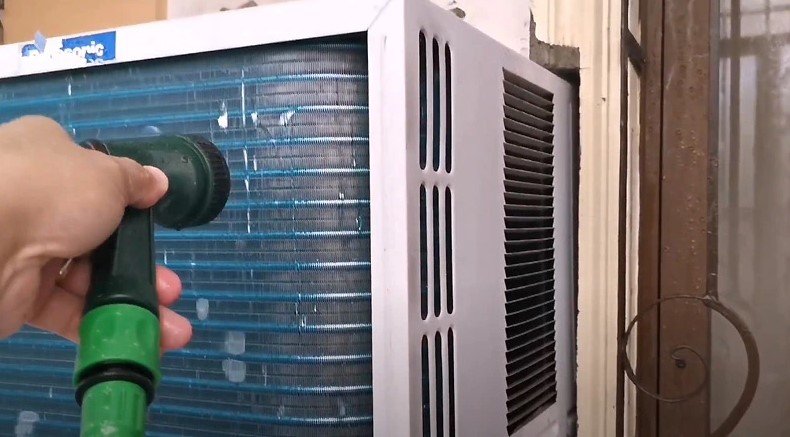
Check the condenser coil, compressor, evaporator coil, and Clean With Coil Cleaner.

4. Remote Batteries
Replace the batteries in case of its damage and install them in a proper way by following the user manual.
5. Look at the Setting
Take a look at the functionalities of your Ac. Check the different fan speeds to ensure everything is running under control.
Conclusion
From the above discussion, you must understand that removing the front cover of Window Ac units is necessary in order to clean it. To eradicate the mold from your window Ac and keep it smooth and efficient knowing How to Remove Front Cover of Window Air Conditioner is obvious. Because knowing this method will save you money and time.
If you call a professional technician to clean that must be costly sometimes. For this reason, we hope you have found our article helpful for you. We are at the end of our discussion. If you have some quarry on this matter, don’t hesitate to comment below.
