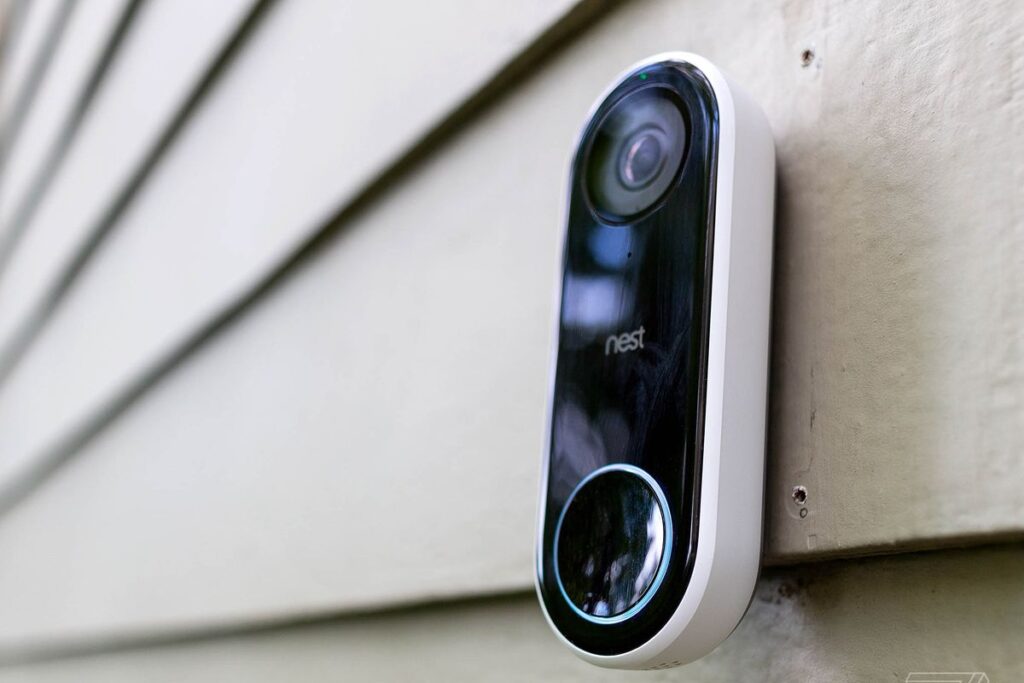
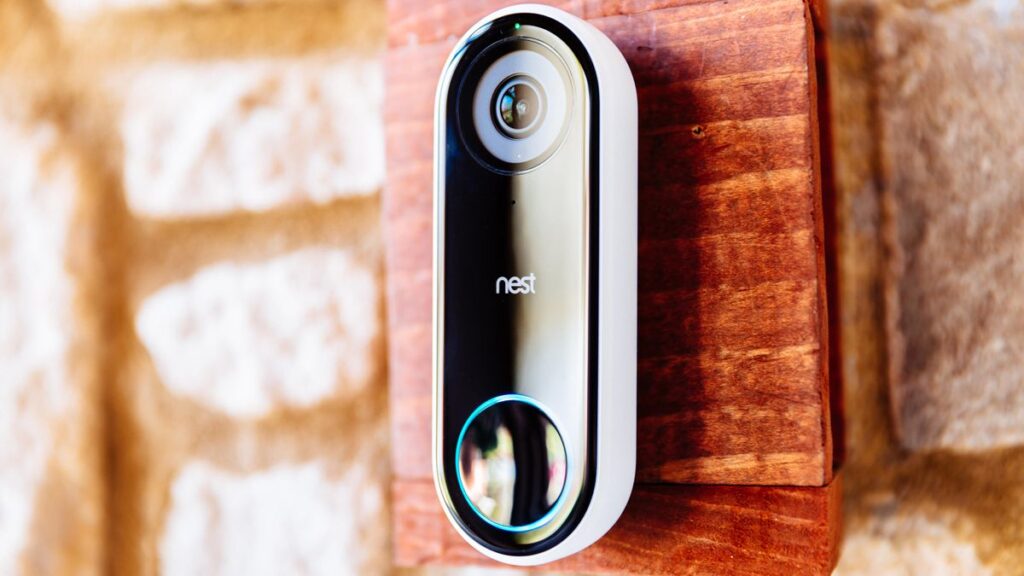
Smart homes are rapidly replacing the old and back-dated systems of our everyday world. The Nest Hello device has been created as a replacement to your old doorbells that don’t match with your smart home anymore. With this amazing device, you will not only be informed about guests but also will have a clear picture of who is at the door. This added security of knowing if it’s safe to open the door is a great feature that must be present in all doorbells.
Now, many new and old homeowners have been asking us if it’s possible to have a Nest Hello without installing a doorbell first. Well, it is actually possible and quite easy to be honest. Here, we will show you how you can install a Nest Hello when you don’t have an existing doorbell. Read on to see all the steps to do so.
Install NEST Hello Without Existing Doorbell or Chime

Is It Possible?
If you want to install a Nest Hello without having a doorbell you will need to purchase a plug-in transformer. You might also know it as the indoor power adapter. This will be very important as it would help you to regulate the voltage. There is absolutely no need to separately buy a chime connector with the power adapter.
However, you must still consider buying a chime connector as Nest Hello creates its own circuit by using this device so that the power supply is uninterrupted when the doorbell is connected. There is one other advantage of the device that is it helps you to continuously record your surroundings through the camera of the Nest Hello.
Installation of Nest Hello
We would advise you to start off by installing the Nest Hello app which will give you detailed and precise steps that you must follow to install the device. However, if you don’t want to do that, here are the instructions that you can opt to follow as well.
Finding the right location to place or install the Nest Hello doorbell is very important. We would recommend you to install the Nest Hello doorbell in such a place that it clearly shows you the face of the visitor. Door-level placement would be the most ideal.
Now you need to drill in three holes that must be able to pass the wires through them. The sizes will also depend on the wall where you will mount the device. Now you have to complete the wiring connection that will supply power to the doorbell. When this has been established, you have to connect the wires with the Nest Hello doorbell’s back portion. You must be working with screws so that everything is properly tightened and secured.
Make sure that the wires are set in an upward direction. You should not have any wire hanging out of the hole or at the sides of the doorbell. If they do, push them back into the hole along with the doorbell. Make use of cable clips for securing the wires so that they are not causing trouble. Now, all you have to do is plug the adapter and switch on the device. You will see a blue light on the ring which will mean that the Nest Hello has been powered and is running.
After these steps have been done, you have to navigate to the Nest app and select the exact location of the doorbell. You will also have to connect the device to the Wi-Fi connection and ring the doorbell to let it send you notifications. You can also switch off the internal chime by making changes in the settings. You will also get the option to choose the language you want and the recording will also allow you to record.

The Bottom Line
If you don’t have much time and want a simpler process then simply use the plug-in chime as all you need to do here is connect one end with the indoor power adapter and the other end with Nest Hello. Yes, this method is way easier. So, that is how you will have to install the Nest Hello when you don’t have an existing doorbell.
